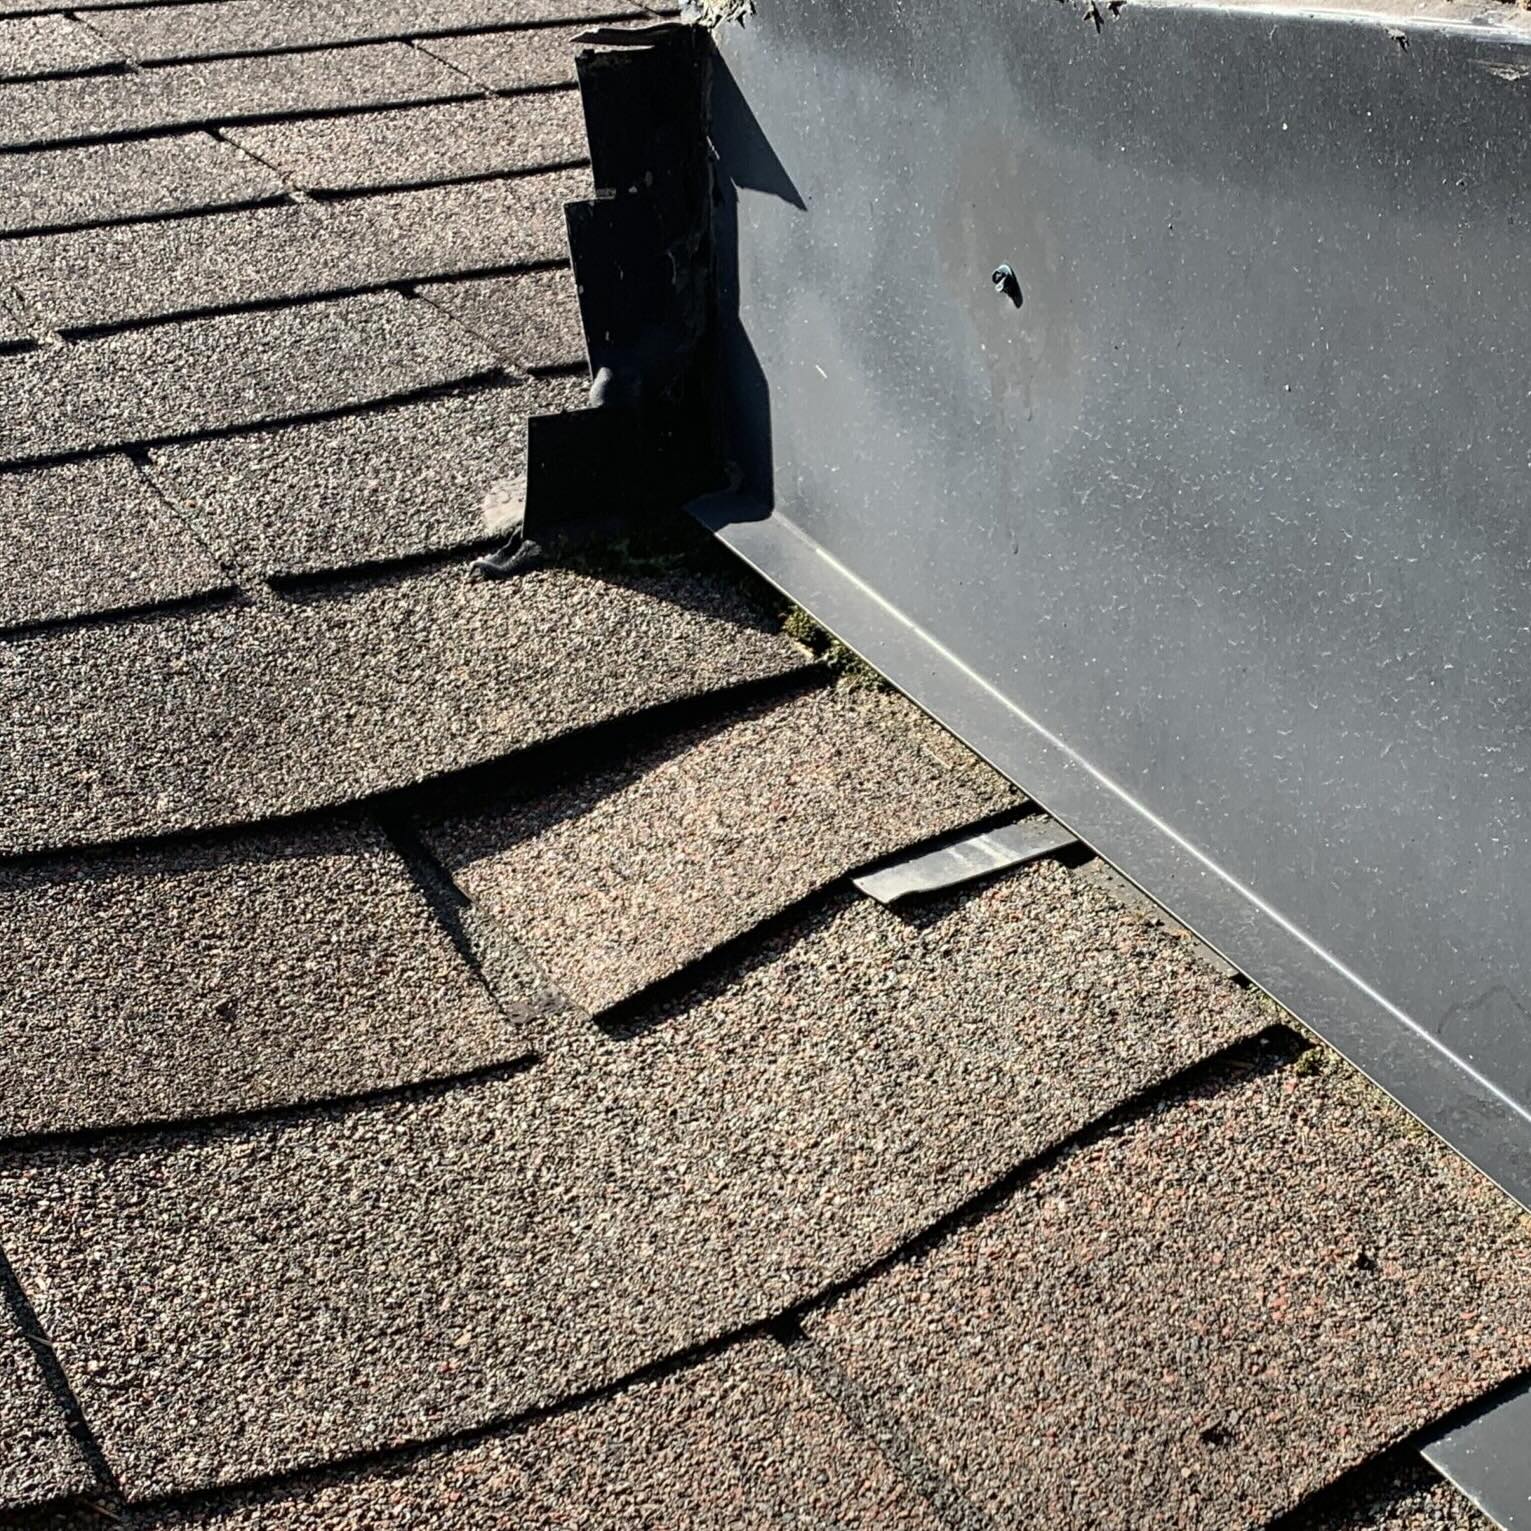
Sealant Breakdown Around the Chimney:
Work With the Best Roofing Contractors in Central Texas
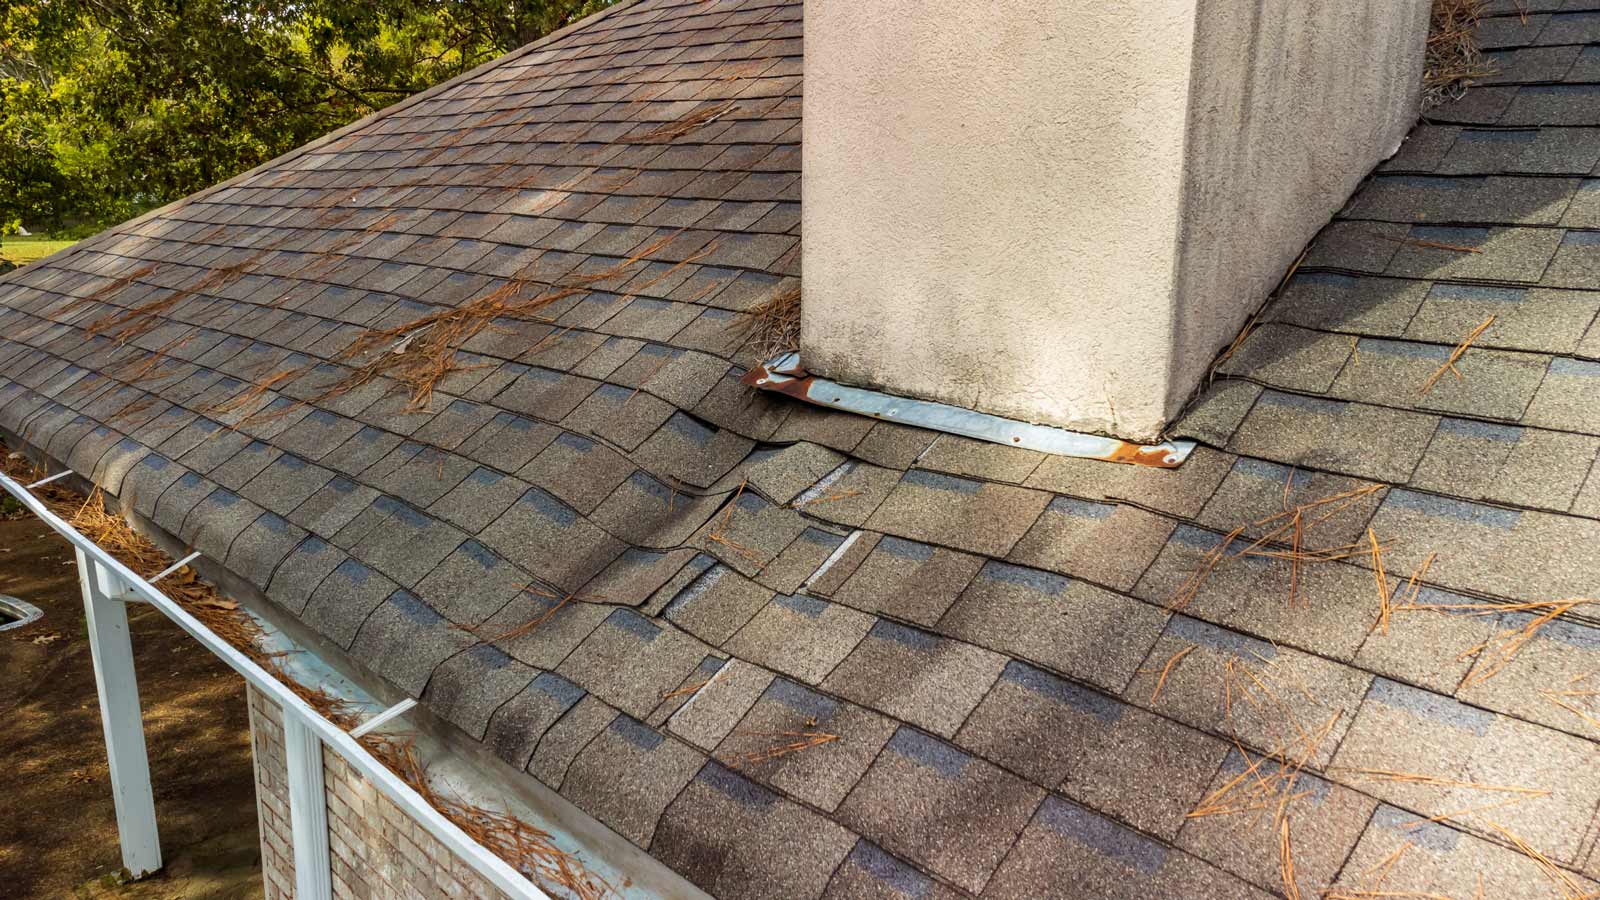

Common Roofing Issues: Chimney Sealant Damage
Find Out Why Sealing From the Chimney Crown is Critical For Roofing
You might not be able to see it, but there’s sealant all around masonry chimneys. It’s where metal meets masonry, at reglet cuts, corners and transitions. There’s sealant on the entire chimney from the crown at the top of your chimney down to the roof. It ensures cracks in the masonry don’t lead to leaks that cause damage further down.
When the sealant around a chimney is damaged, you lose one of the key “fine‑tuning” defenses keeping water out of a notoriously leaky area. The flashing may still be there, but cracked bricks, gaps, and missing beads of sealant give water an easy path into the roof system and interior.
Why Chimney Sealant Matters
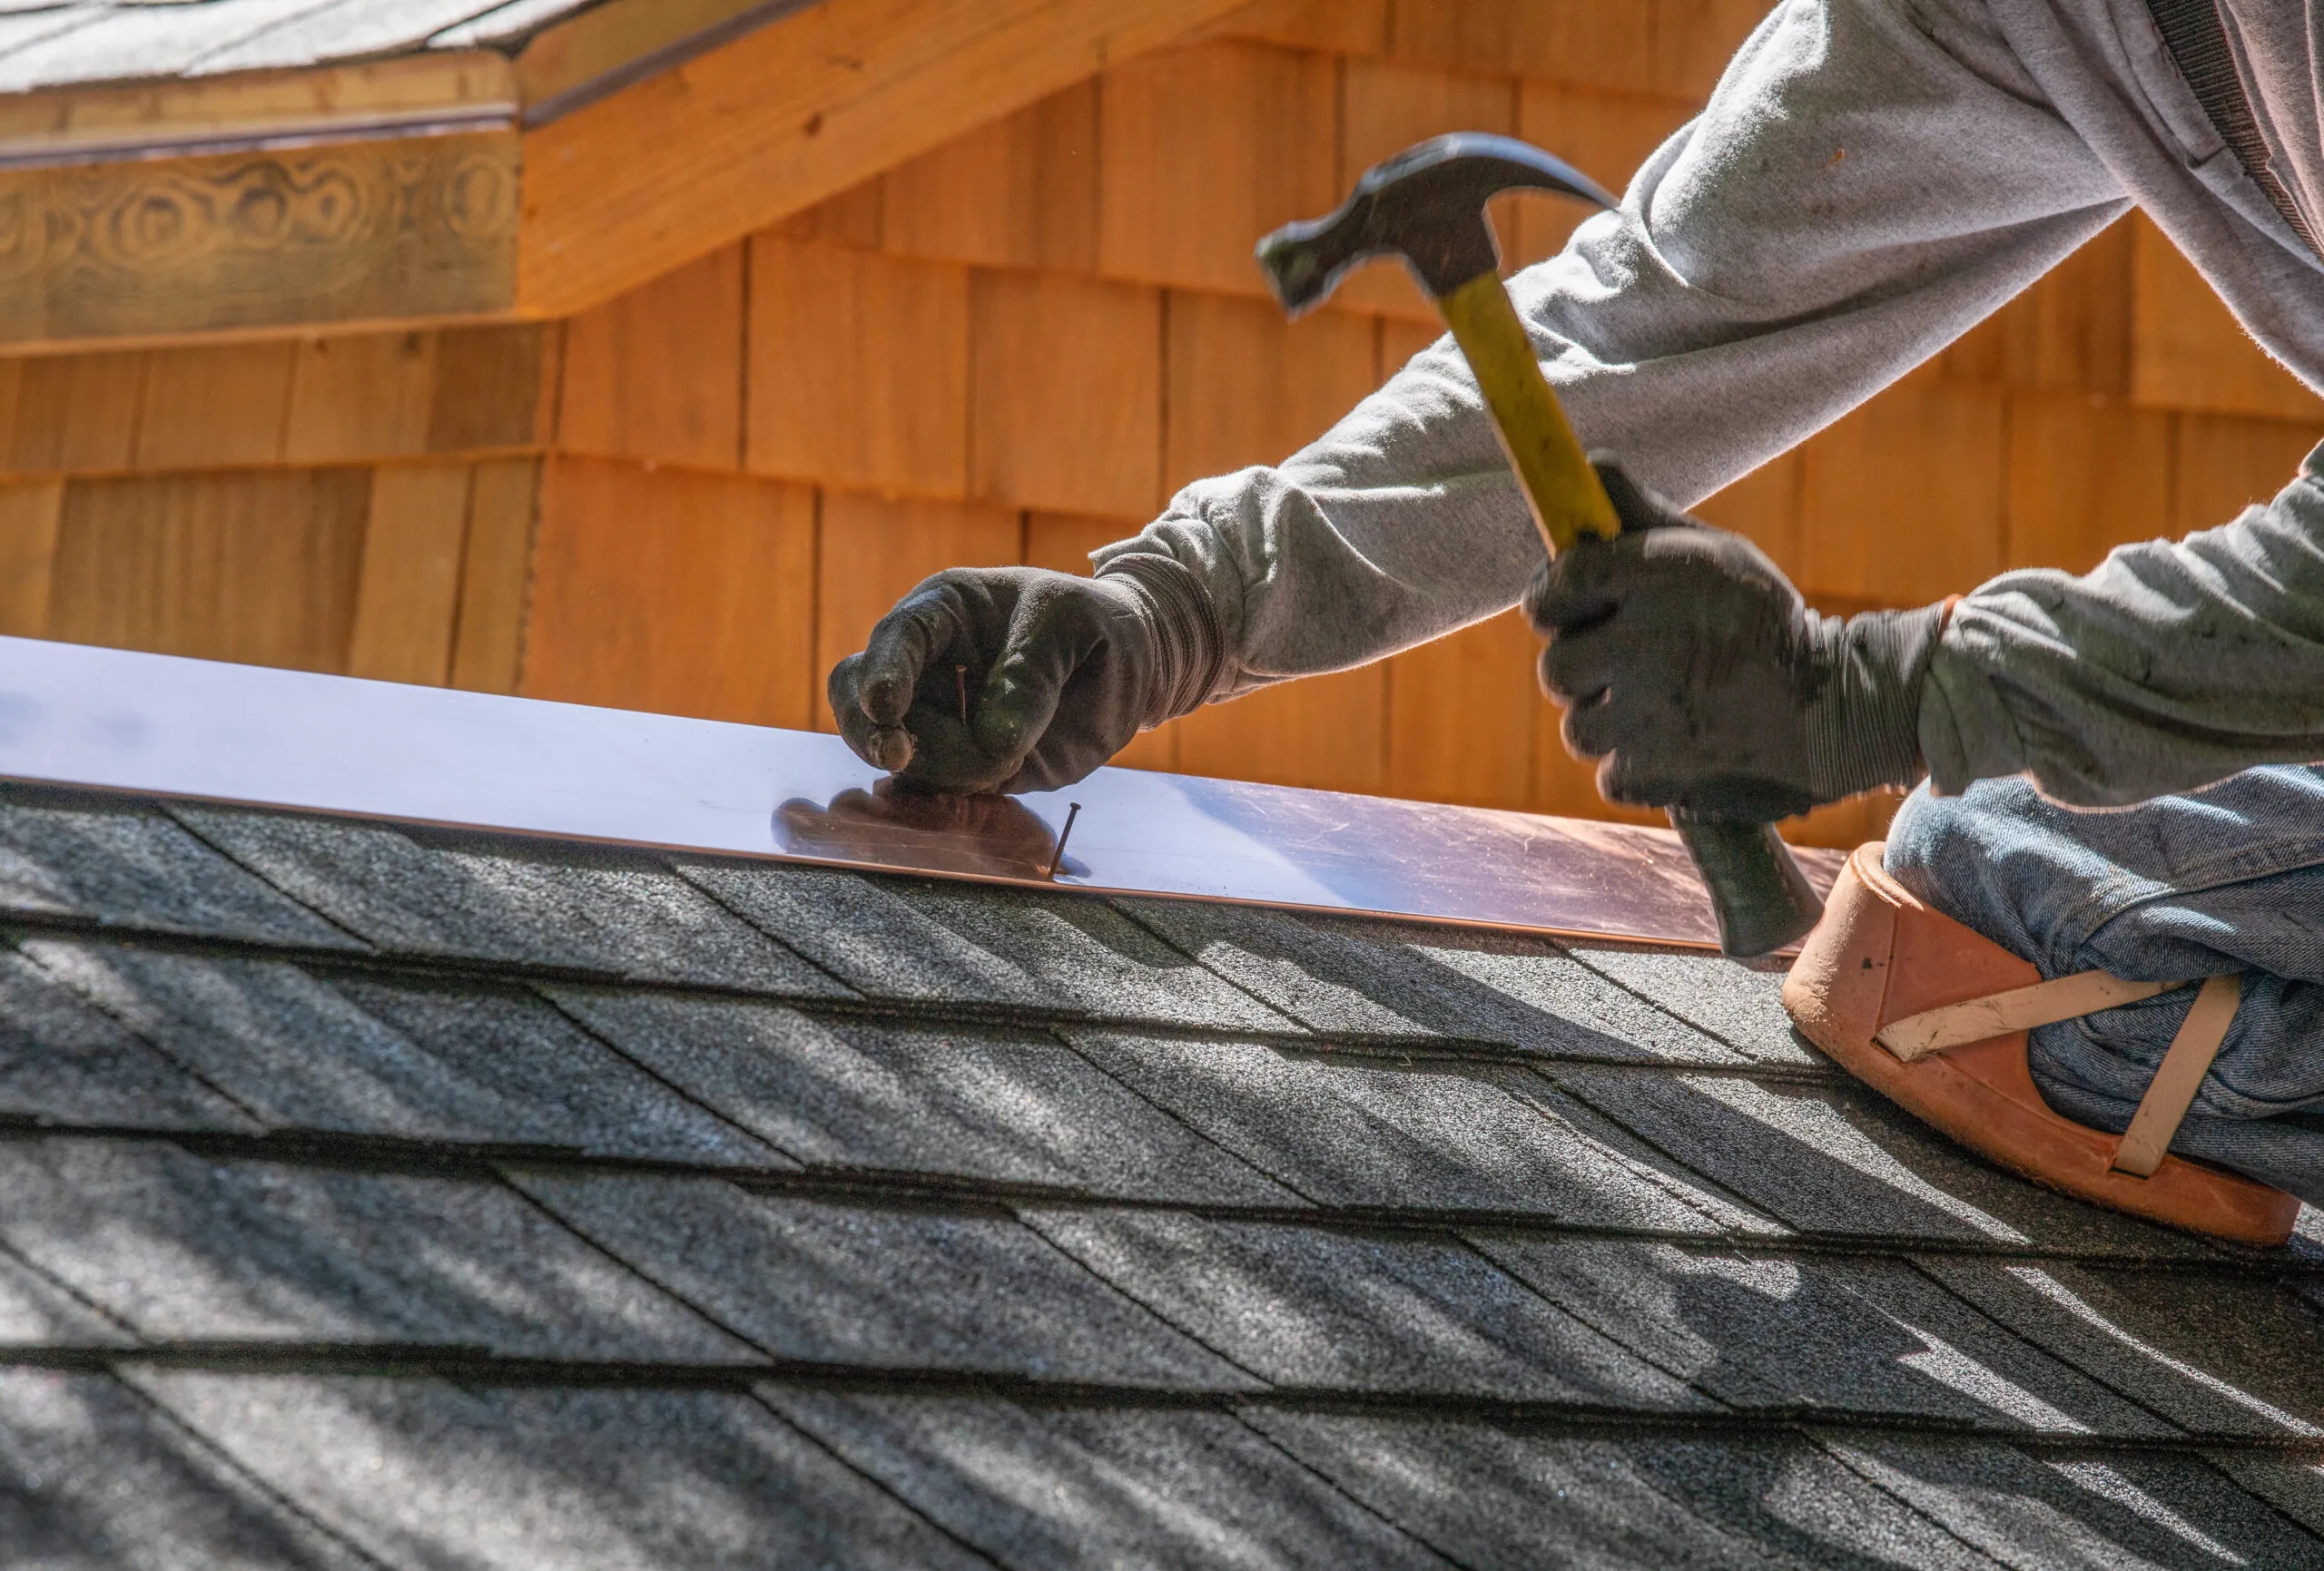
The metal flashing does the heavy lifting, but sealant is a part of a long lasting waterproof membrane on the roof: Sealants are used to:
- Close tiny gaps where rigid materials can’t make a perfect fit.
- Fill larger cracks and cut lines in mortar and brick.
- Help accommodate slight movement from temperature swings and settling.
When that sealant breaks down, water stops being “nudged” away from weak spots and starts finding its way inside.
What Causes the Sealant Around a Chimney to Fail?
Sealant can lose its water repellent capabilities for a number of reasons. The most common ones are:
Exposure to the Elements Over Time
Sealants live a hard life on a roof. It’s exposed to:
- UV rays from hours upon hours of sunlight dries and embrittles many sealants over time.
- Temperature swings cause expansion and contraction of metal, masonry and shingles. Stiff, aging sealant can’t stretch, so it cracks or pulls away.
- Rain, snow and ice wash over the sealant repeatedly, eroding any weak spots.
Even a good roofing‑grade sealant is a maintenance item, not a permanent solution.
Movement Between the Chimney and Roof
Chimneys are heavy, relatively rigid structures tied into the foundation. Roof framing is lighter and more flexible. As the building moves and settles:
- Tiny shifts can open hairline gaps between metal and brick or stone.
- Wind loads can rock the chimney slightly off relative to the roof plane.
Sealant that once bridged those tiny gaps can tear, split or detach.
Poor Product Choice or Application
Sealants perform the same job, but there are different types for different applications. When the wrong type of sealant is used it won’t last as long or perform as well.
- Interior or painter’s caulk used outside will fail quickly in sun and rain.
- Silicone sealants and water based sealants can be used on the exterior.
- Some sealants won’t adhere well to certain metals, masonry or previously applied products.
- Siloxane sealers are applied with a paint brush to masonry chimneys to help repel water.
- Skimpy beads, dirty surfaces or sealant applied to wet or dusty masonry will lose adhesion much sooner.
Previous Patch Jobs and Layering
Patching cement and brick is a “band‑aid” fix that can make things worse when:
- New sealant smeared over old, cracked beads doesn’t bond well.
- Layers of incompatible products peel away.
- Heavy blobs of sealant trap water, holding it against the metal and masonry.
Calling in chimney professionals that will make repairs right can mean avoiding bigger repairs not long down the road.
How to Fix Damaged Sealant Around a Chimney the Right Way
A lasting repair is more than just squeezing new sealant on top of old. The goal is to restore a sound flashing and sealant system that sheds water naturally.
Inspect and Diagnose
From inside and outside you’ll need to have the entire chimney and surrounding area inspected.
- In the attic, check wood and insulation around the chimney for stains, rot or mold.
- On the roof, look closely at:
- Cracked, separated or missing sealant where metal meets brick/stone.
- Gaps at reglet cuts (the grooves in mortar where counter flashing is set).
- Rusty, bent or poorly seated flashing that might need more than re‑sealing.
- Check that counter flashing is still well anchored in mortar joints or reglets—not just hanging on by old caulk.
- Confirm step flashing and apron/back pan are intact, properly overlapped, and not badly rusted or warped.
If flashing itself is failing, you’re dealing with more than just a sealant issue. Metal that’s mis‑shaped, rusted through or incorrectly installed will get only short‑term relief from sealant. In those cases, plan to repair or replace flashing along with resealing.
Remove Failed Sealant
Good prep is critical for sealants. To remove the failed sealant:
- Carefully cut and scrape away old, loose or cracked sealant. Don’t just smear over it.
- Clean the contact surfaces (metal and masonry) of dirt, moss, efflorescence and loose mortar.
- Let the area dry thoroughly since sealant applied to damp surfaces won’t bond well.
- Repoint or patch mortar where it’s crumbling or where reglets have opened up.
Apply Roofing‑Grade Sealant Correctly
Use an exterior roofing silicone sealant compatible with both metal and masonry:
- Apply a continuous, moderate bead along key joints
- Tool the bead so it’s firmly pressed into the joint and forms a smooth shed‑shaped profile that encourages water to run off instead of ponding.
- Avoid blocking any intentional drainage paths or weep gaps designed to let trapped water escape.
Address Interior and Attic Damage
Once the exterior leak source is properly fixed and moisture is no longer an issue:
- Remove wet or moldy insulation and replace it after the area has fully dried.
- Cut out and replace water‑damaged drywall or plaster near the chimney; treat any visible mold as needed.
- Repaint or refinish the repaired surfaces.