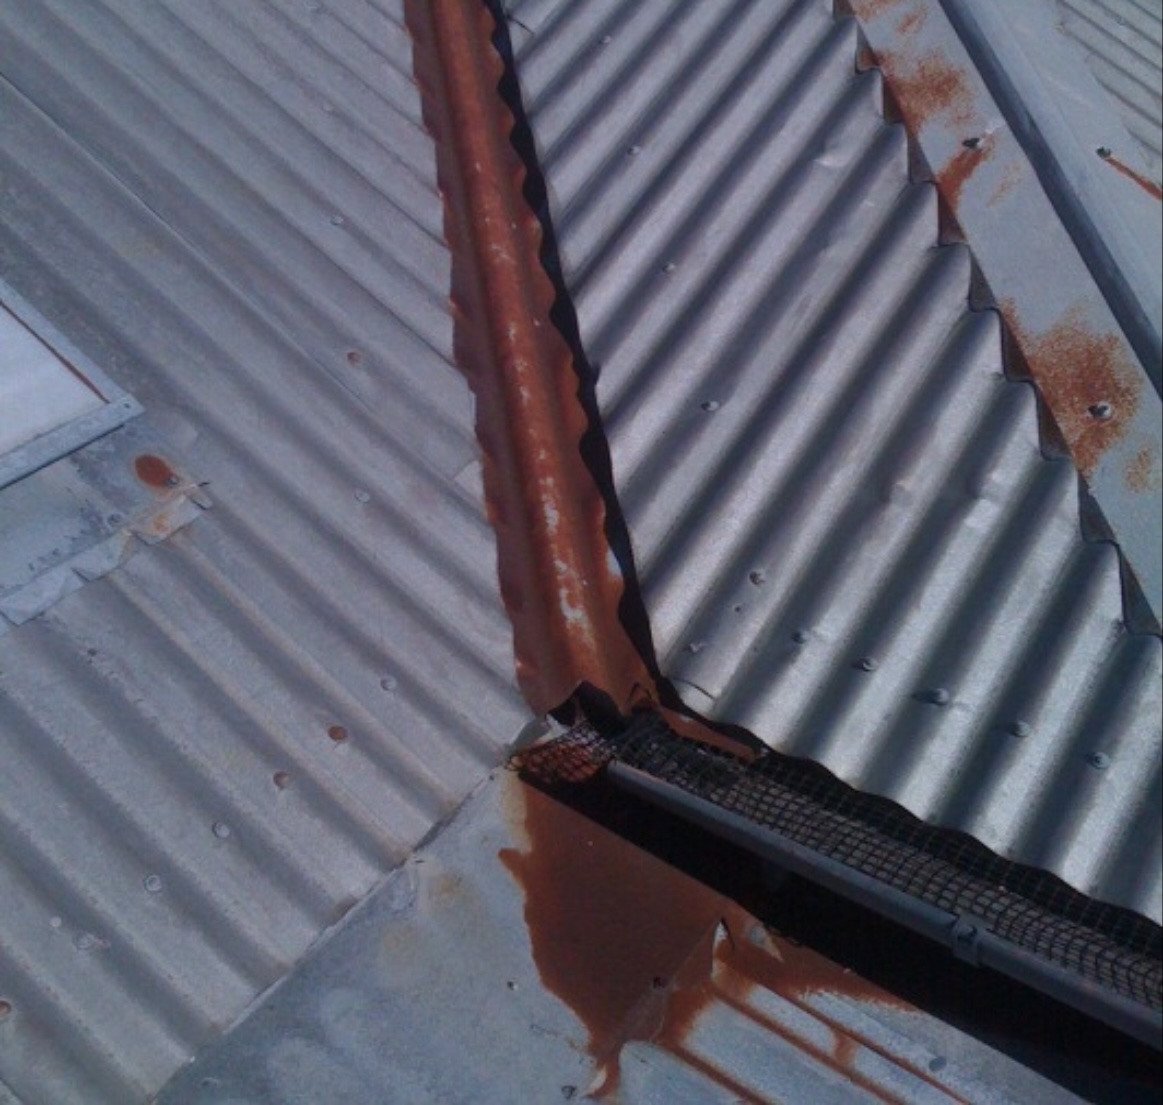
Common Roofing Issues: Roof Flashing That’s Shifted
Work With the Best Roofing Contractors in Central Texas

Quality is at the heart of our Austin roofing company in every project we take on. Contact our experienced Central Texas roofers for a same-day, pressure-free inspection. Call 512-375-3654 to book your free inspection.
If you need a new roof installed, LOA is the roofing company to call! Our roofing experts are known for providing quality workmanship at a fair price. If you own a house or business in Central Texas you can’t afford to work with another roofer.
Find out how much roof replacement will cost in Austin, Texas and the surrounding areas.
Common Roofing Issues: Roof Flashing That’s Shifted
When roof flashing shifts out of place, it can’t serve its primary purpose – keeping water out at the most vulnerable points of your roof. Even a small amount of movement can open up a pathway for leaks that cause a lot more problems with the roofing system and other parts of the structure.
What Causes Roof Flashing Materials to Shift
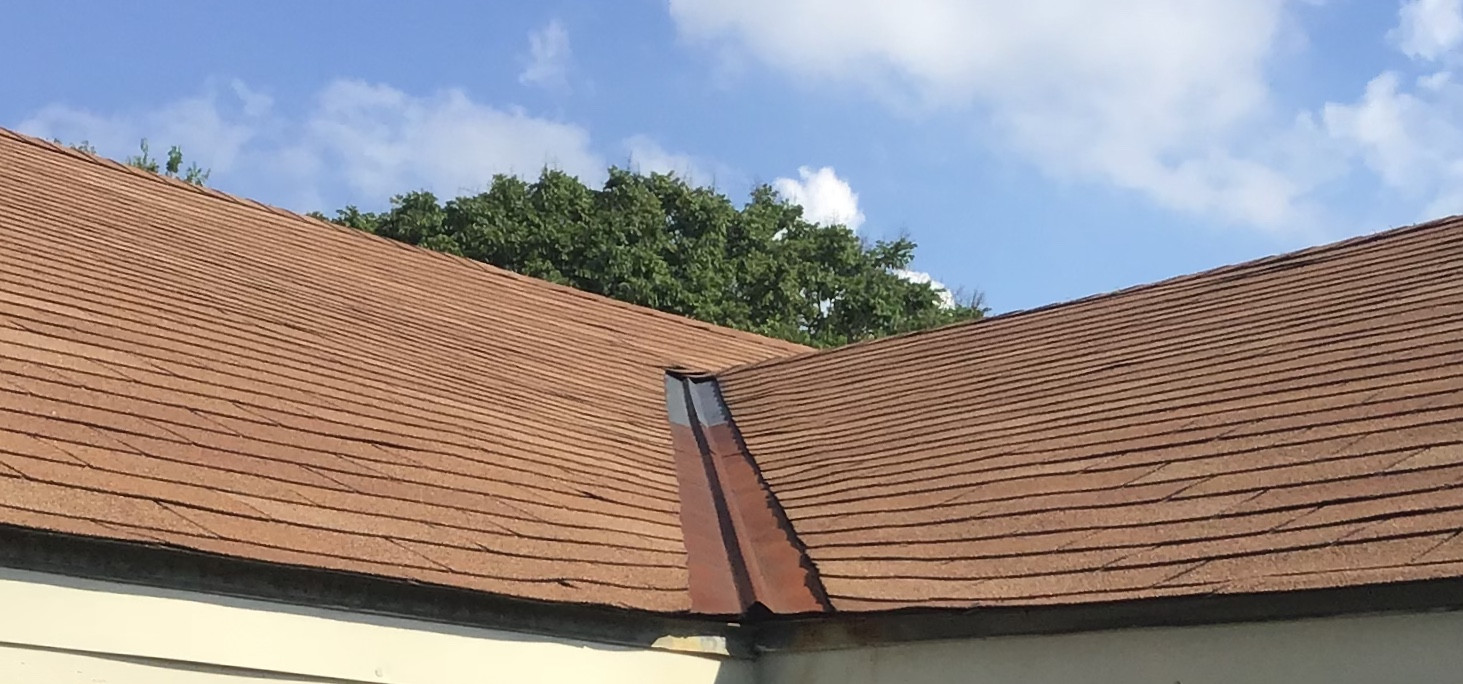
Any type of flashing from drip edge flashing to gutter apron flashing can end up shifting from where it’s originally placed. Roof flashing usually moves because something is pushing or pulling it out of its original position. The reason behind the pushing and pulling is usually:
Thermal Expansion and Contraction
Metal flashing constantly expands in hot weather and contracts when it cools. Over time, this movement can warp, wrinkle or shorten the flashing so it no longer sits tight against the roof, creating gaps.
Membrane Shrinkage
On low-slope roofs, shrinking membranes or normal building settlement can tug on flashing seams until they lift, crack or separate.
Weather and Storms
High winds, hail, heavy rain and snow loads can physically bend or loosen edge flashing, valley flashing and around roof penetrations.
Debris and Overhanging Branches
Branches rubbing on the roof and debris trapped along flashing edges can pry or grind flashing out of place and hold moisture against it, accelerating deterioration.
Foot Traffic and Poor Repairs
People walking or working on the roof can accidentally step on flashing and bend it. Quick “band-aid” repairs that rely on caulk instead of proper fastening often fail and allow flashing to move again.
Poor Installation
Nails in the wrong place, thin or undersized flashing and insufficient fastening allow pieces to work themselves loose over time.
How to Repair Roof Flashing That’s Shifted
A durable fix usually requires more than hammering roof flashing back down. In fact, if you do that the flashing may not be in the proper place. To restore proper drainage and keep water from penetrating past the roof surface you have to take steps to install roof flashing the right way. And it’s something you want to do ASAP since new roof flashing costs a lot less than repairing structural damage and water restoration.
1. Inspect and Locate Where the Movement is Coming From
- Look for bent, lifted or wrinkled flashing around chimneys, sidewalls, dormers, skylights, valleys and roof edges. These are the areas most affected.
- Inside, check the attic and ceilings for stains, damp insulation, musty smells or darkened wood.
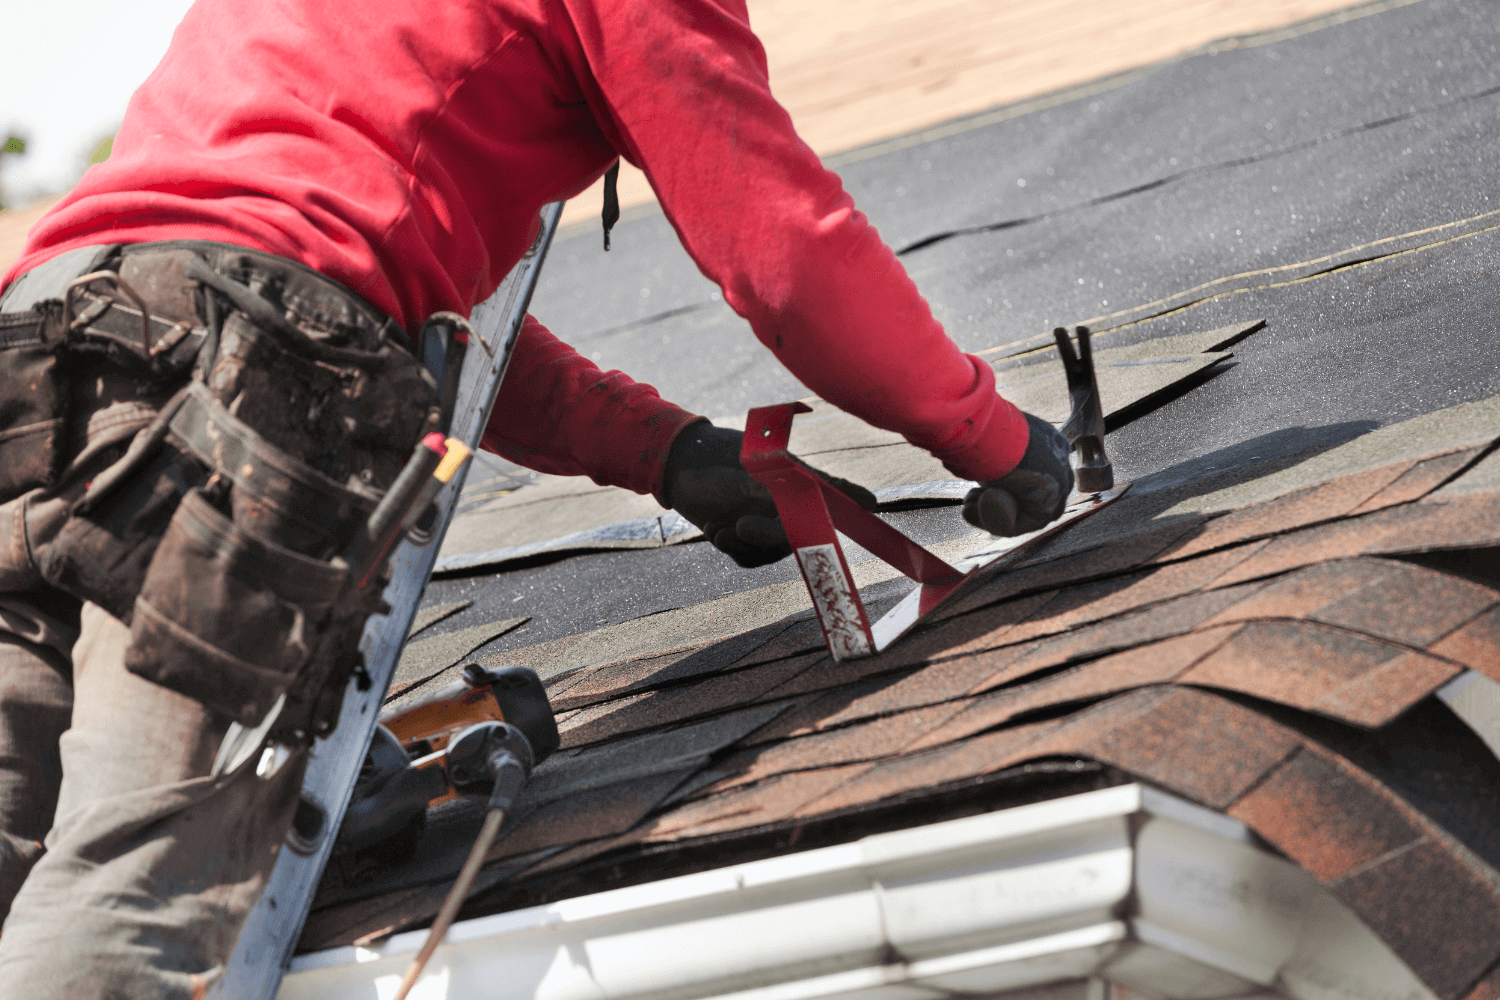
2. Carefully Lift Roofing Around the Affected Area
- Remove or loosen roofing materials around the shifted flashing so you can access it all the way.
- Check for signs of membrane shrinkage, rotted decking and damaged underlayment caused by continuous flashing leaks.
3. Evaluate the Flashing to Determine if it Will Be Reused or Replaced
- If the flashing is only slightly bent and still structurally sound with no cracks, holes or severe rust, you may be able to carefully straighten it and re-secure it.
- If the flashing is cracked, badly warped, corroded, too short or wasn’t the proper flashing to begin with, replace it entirely rather than trying to repair it.
4. Reinstall Flashing Correctly
- Re-bend flashing to match the roof and wall angles so it sits flat without tension, which prevents it from wanting to spring up or shift again.
- Fasten the flashing in the correct locations so fasteners don’t create leak paths. Follow proper step-flashing or counter flashing sequences at roof-to-wall and chimney details.
- Integrate flashing with shingles or the membrane in the right order, ensuring that water always flows from upper surfaces over lower ones, not behind them.
5. Seal and Restore the Surrounding Materials
- Use compatible, high-quality roofing sealant for added waterproofing.
- Replace any damaged shingles, underlayment or membrane, and reinstall the new material to match manufacturer and code requirements.
- Inside the structure, remove and replace any soaked insulation or mold-damage once you’ve confirmed the leak is resolved.
How to Prevent Flashing From Shifting in the Future
You can’t control the local climate, but good flashing design, installation and maintenance dramatically reduce movement.
- Use Properly Sized, Quality Flashing: During roof repairs and replacement, ensure the metal thickness, width and type are appropriate for the roof and climate. Thin, undersized flashing is more likely to bend and shift.
- Control Roof Traffic and Debris: Limit foot traffic near flashing, train service trades where to step and keep branches or debris from scraping or piling against flashing edges.
- Regular Roof Inspections: Inspect flashing at least once a year and any time a major storm hits to look for movement, gaps, bent metal, corrosion and separated seams. Always address any issues promptly before they escalate.
- Watch For Structural Movement: In areas with expansive soils or settling foundations, keep an eye on cracks in walls and shifting roof lines. If you see changes, have the flashing checked too, since structural movement can pull it loose.
Flashing doesn’t usually fail all at once. It usually starts by shifting just a little. Catching and correcting that movement early is one of the simplest ways to prevent big, expensive roof leaks later.
Not sure that your flashing is securely attached? LOA can provide a free inspection that will look specifically at the flashing’s condition to determine the best course of action.